
WordPress is the number one use CMS and its popularity is always on the rise. In order to build a highly capable and functional website, WordPress is the foundation base, but you are going to need themes to design your website and you are going to need plugins to add functionality and new features you will need along the way.
In this article, we will reveal all there is about plugins, what they are, how you can install them, a few tips and tricks to help you make the right decision. Let’s first give a short definition of them.
A plugin is a piece of software that is added to WordPress with the sole purpose to augment a website’s functionality and/or bring new features to the table. They integrate seamlessly with WordPress websites and are written in the PHP language. Now that we are done with the ABCs of plugins it is time to learn how you can install one in your WordPress Dashboard.
How to install a plugin
Important Note: This is a tutorial on how to install plugins for the self-hosted version of WordPress, which is wordpress.org, you can not install these plugins or any other if you are using wordpress.com unless you upgrade to their business plan.
Installing a WordPress plugin is an easy task to perform. There are two alternatives on how you can install a plugin. The first and the easiest method is via the WordPress Dashboard or you can install a plugin via FTP. Let’s start with the first method, which in the meantime is the fastest way to go.
Installing a plugin from your WordPress Dashboard Admin Area
Before we start with our guide, it is important to know that from the WordPress Admin Area, if the plugin you want to utilize if free then that is done by a simple search right there in the Dashboard, but if the plugin you intend to work with is a premium one then you need to upload the plugin as it will not be in the plugin directory.
But both methods are executed in the WordPress Admin Area with just different options to choose from. We will cover both of the techniques.
Installing a free plugin from the plugin depository
First thing you need to do is obviously head to the WordPress Dashboard, then navigate to Plugins > Add New
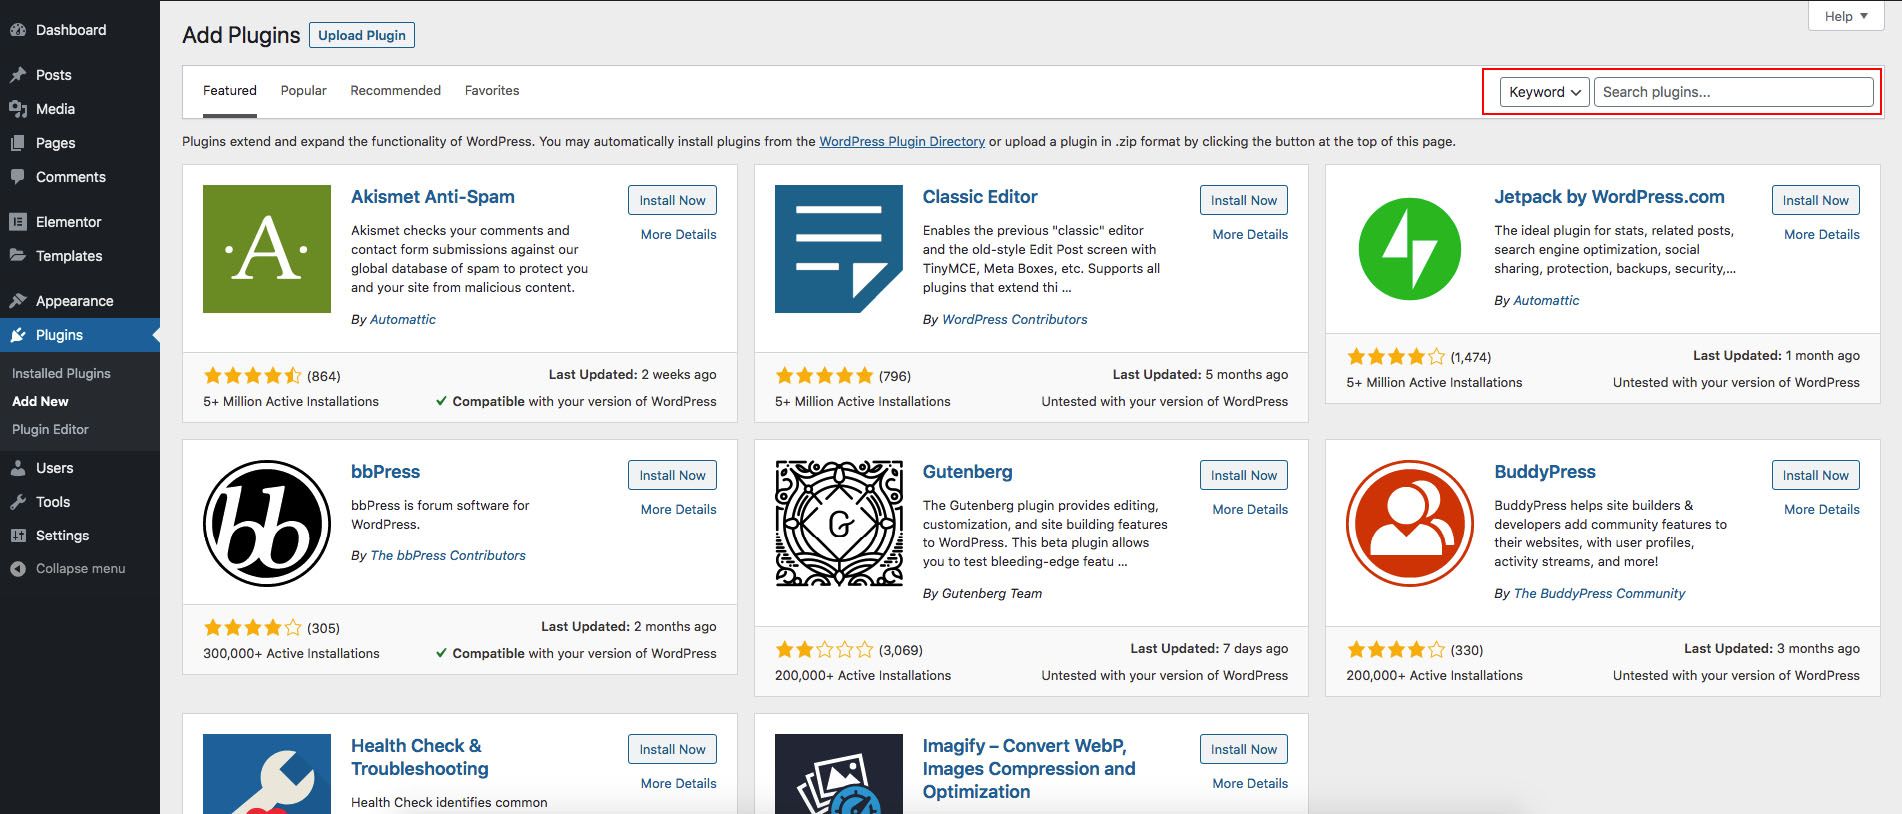
Once you click on the Add new section you will have opened the plugin depository and here are collected together all the free ones. Here is presented a list of recommended/featured plugins and notice on the right you have the search bar.
All you need to do is search for the one you need and the results will show immediately. You can type the name of the plugin if you know already exactly which one you need, or you can type the functionality of that plugin and you will be presented with a list of plugins that handle that job.
For example, if you type in page builder in the search field, you will be able to sweep through all plugins that help you build your pages. Choose your plugin and click Install.
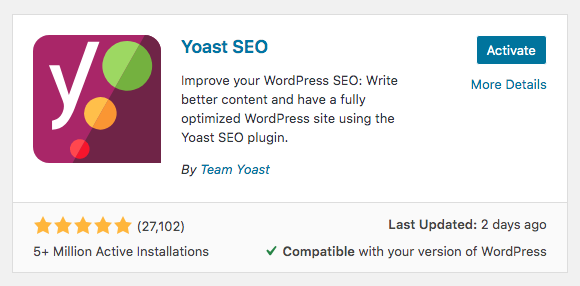
It shouldn’t take less than a minute to install and once it is completed, you will have to activate it, otherwise, you won’t be able to use its benefits. Just click on the Activate button and you are good to go.
Viola, that’s all that needs to be done, if the process was successful, it will show in the WP Dashboard panel under Plugins > Installed Plugins. All there is left to do is optimize the plugin to add some razzle-dazzle to your website and get it running.
Upload a Premium Plugin from the WordPress Admin Area
As we mentioned in the paragraph below, if a plugin is a premium then you will not find it in the plugin depository, in this case, you will have to download it as a zip file and then upload it from the WP Dashboard. Let’s see how that’s done.
The first step you need to make is having a file of the plugin on your computer. When searching for a premium plugin, you can find it in the marketplace, we will assume you have one chosen, perform all steps they recommend and after you will have access to download the plugin’s file.
After you have gone through that go back to the WordPress Admin Area and go to Plugins > Add new. At the top of the page, you will see PLUGINS and next to it an Add New button, click on that one too.
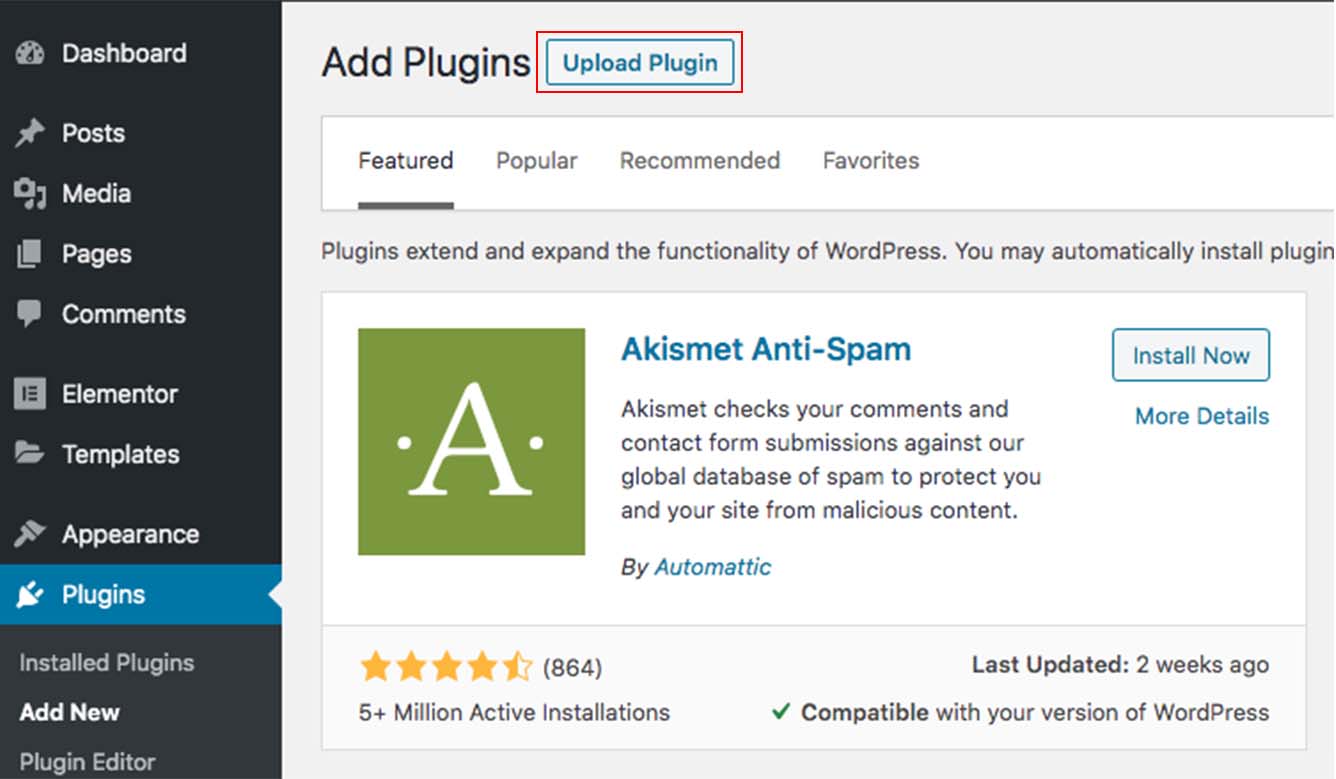
After you have clicked on the Add New button, you will then see an Upload Plugin button instead. Click on that and you will see a window pop up, that will be the upload form.
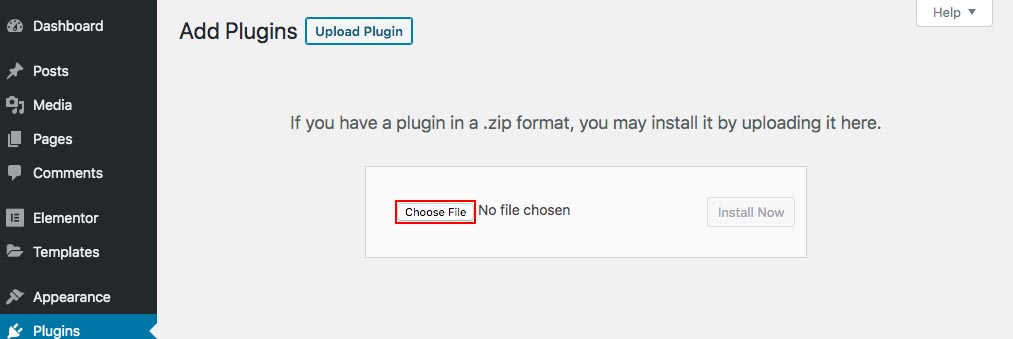
From that form, you will have to click on the choose file button and select the plugin’s ZIP file on your computer. After you’ve selected the Install Now button will be available, click on that one too.
From there WordPress will install your plugin and you will be greeted with a successful message once it is finished.
Again, your plugin will not work unless you activate it, so go ahead and click on the Activate button. That would be all. Your plugin will add the functionality you required, just make the arrangements needed.
Install a WordPress plugin via FTP
Some premium or custom plugins will require you to install them through FTP. This is the least used method and can be a bit challenging for those who are new and don;t have any coding skills. Before you go down this road, be sure to know what you are doing. We will walk you through this process.
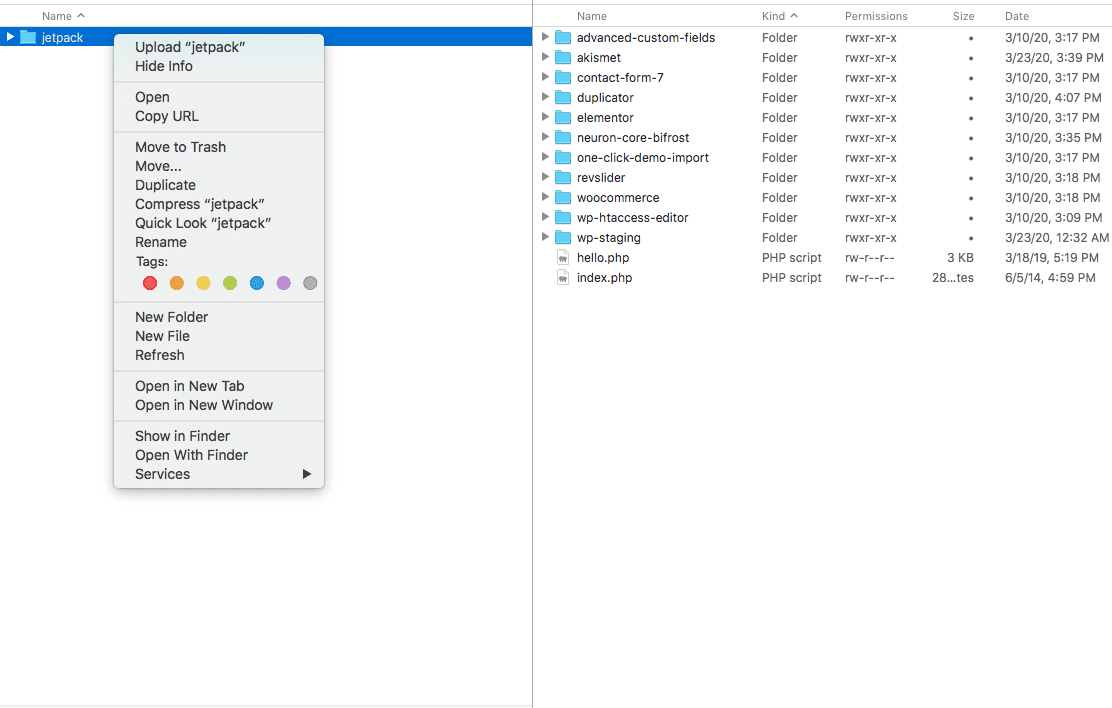
First thing to do is download the plugin file directly from the source, that would be their website. The plugin’s files are usually downloaded in a ZIP format, to proceed further, extract the directory contained inside the Zip file and put it in a directory on your computer that is easily accessible.
Next thing to do is connect to your site’s server using FTP. If you have any difficulties it is best to contact your hosting provider to assist you during the connection process.
After you have successfully accessed your site’s server, you will have to navigate to the wp-content folder within the WordPress installation for your website.
Inside this directory are the plugins and themes directories along with a few others, what you should do is locate the /wp-content/plugins directory where all plugins reside.
Next on the list would be to upload the plugin folder you extracted earlier inside the /wp-content/plugins directory.
The hard part of this process is done, now all there’s left to do is go back to the WordPress Dashboard and click on Plugins > Installed plugins and you will see it was successfully placed.
Don’t forget to activate it, just click on the Activate button right under the plugin. That should be all.
How to assess the right plugin ?
It is of vital importance to choose plugins carefully, because you will have running code from other people inside your website, and that easily takes a wrong turn.
It can be an overwhelming or even intimidating process when deciding on what plugin you should choose, to help you go through all of this, ask yourself a couple of questions.
When was this plugin last updated? Is it compatible with the latest version of WordPress? The first thing to do is check when it was updated, an outdated plugin will cause more harm than you can ever imagine. Keep your eyes open.
How many other people use this plugin? Always check how many people have installed that plugin, if the number is high, that is an indicator that the plugin is worth it.
But also, make a habit of checking its reviews before you make a decision. Just like your favorite pair of Nike, you spend time online searching through other people’s evaluation of the product, you should practice the same habit here.
Reading ratings and reviews has proven to be insightful, make sure to analyze those reviews that are compiled on an in-depth and more balanced evaluation.
The key to effective use of plugins is to deploy them only from properly vetted sources like official repositories, and only install them when necessary. Plugins should solve a problem you might encounter or provide an essential function, otherwise, try not to indulge your website with redundant plugins.
There are words on the street that too many plugins will overburden your website and will compromise a site’s speed. That should be avoided. Always perform speed tests before and after the installation of a plugin.
If you notice a major decrease in site speed then it either means it is a poorly written plugin, as they tend to add many files that will harm your website’s performance and speed. Try using free tools like Google’s Page Speed Insight or GTMetrix or Pingdom.
Now that we finished Plugins 101 lesson it’s time to get into the part where we show you a list of invaluable plugins that will perform wonders on your website, and all of them offer core features for free. Check out this article.
Final Thoughts
We’ve come to the end of this article, where we covered all there is to know about plugins: how should you install one and how should you choose the right plugin for your website. Consider this as the Plugins 101 class in a nutshell and hopefully, you are left with useful knowledge on how and when you can use plugins.
It is almost impossible to build your website without having to install a certain plugin that offers essential functionality to your website. For someone starting fresh in WordPress, this article will be of immense help to guide you through some of the basics and little by little stepping over the big guns and taking over the WordPress world. Use the plugins to your advantage and you will see your website grow and you grow with it.
We welcome your thoughts and ideas, make them visible in our comments section and provide some insight you have on plugins or any tips and tricks you would like to express to all of those who read our blog. Be kind.